Historical maps are fascinating tools that can transport us back in time and reveal the stories of civilizations past. While many of us appreciate the beauty and historical significance of these maps, few realize that they can be created by anyone with a passion for history and a basic understanding of cartography.
In this blog post, we'll delve into the world of citizen cartography, exploring the tools and resources available to aspiring mapmakers and providing a step-by-step guide on how to create your own historical maps.
Gather Your Materials
Before embarking on your mapmaking journey, it's essential to gather the necessary materials:
- Research materials: Historical documents, maps, and images will serve as the foundation for your map.
- Mapping software: Various software programs, such as ArcGIS, QGIS, and Mapbox Studio, can aid in the creation of digital maps.
- Drawing tools: If you prefer a hands-on approach, traditional drawing tools like pencils, rulers, and compasses can be used to create physical maps.
Choose a Topic and Time Period
The first step in creating your historical map is to select a specific topic or time period that you're interested in exploring. This could be a particular historical event, a specific civilization, or a geographical region over a defined period.
Once you've narrowed down your focus, delve into research to gather information about your chosen topic. Collect historical documents, maps, and images that provide insights into the geography, landmarks, and events of the time period you're exploring.
Sketch Your Map
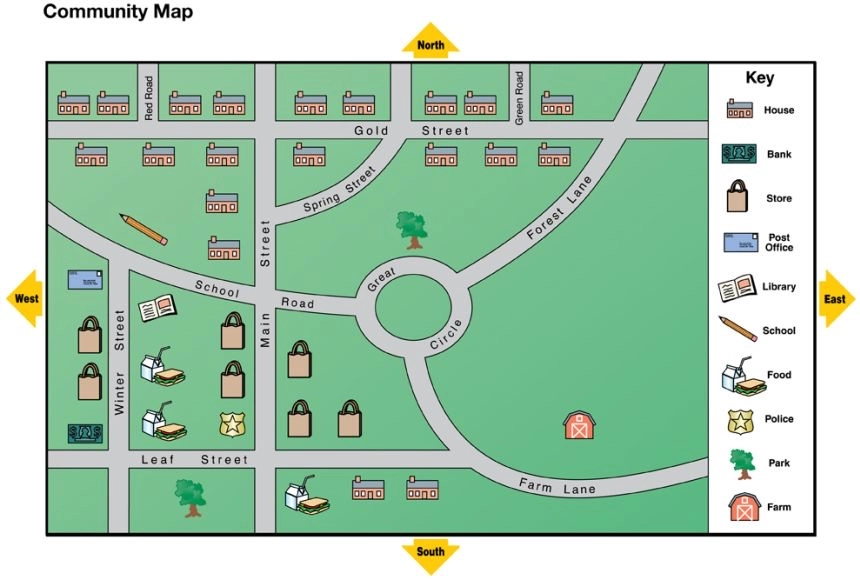
With your research in hand, begin sketching your map. Start by outlining the landmasses and waterways of the area. Then, add major cities, towns, and historical landmarks. Consider using different colors or symbols to represent different types of features.
If you're using mapping software, create a new map file and start adding layers of information. The base layer should represent the landmasses and waterways, while subsequent layers can be used for cities, landmarks, transportation routes, and other features.
Refine and Enhance Your Map
Once you've laid out the basic structure of your map, take some time to refine and enhance it. Use different line weights and styles to differentiate between features. Add labels to cities, landmarks, and other important locations.
Consider incorporating historical data into your map, such as population density, trade routes, or political boundaries. This will add depth and context to your map, making it a more informative and visually appealing representation of the past.
Share Your Creation
After completing your historical map, consider sharing it with others. Online platforms like Google Maps and Esri ArcGIS allow you to publish your maps and make them accessible to a wider audience.
You can also present your map in a classroom setting, at a historical society meeting, or even through online forums and social media. Sharing your map not only allows you to showcase your work but also contributes to the collective understanding of history.
Embrace the Journey of Mapmaking
Creating historical maps is a journey of discovery, both for the mapmaker and the viewer. Through the process of researching, sketching, and refining your map, you gain a deeper appreciation for the past and the stories it holds.
As a citizen cartographer, you have the power to bring these stories to life in a visually engaging and informative way. Share your passion for history with others through the art of mapmaking, and help us all better understand the world we share.


